Difficulty:★★☆
Minimum Requirements: 40W
Raw Materials: Just a section of Cardboard! Use your Muse or Hobby Series box!
Optional: Paint/Markers
Estimated Laser Time: 10 min (45W)
SETTING: (45w) Speed: 100 Power: 20
(only suggestions, results may vary)
Cut off one of the smaller flaps of cardboard from your box and you're ready to go!
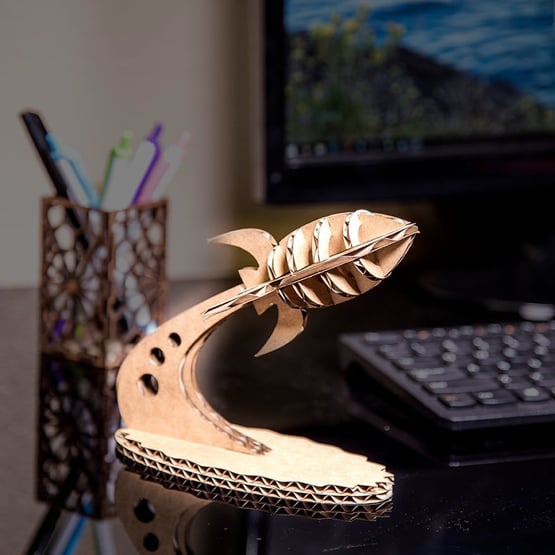
- Safety First: Ensure workspace is free of fire, electrical and other safety hazards. Be aware of all safety issues when cutting materials with a laser. Always have a fire extinguisher on hand.
- Power on the laser and all of its components.
- Ensure that:
- The laser is powered and the boot up cycle begins on the screen.
- The cooling system is connected properly and water is flowing through the tube.
- The air compressor is powered and exhausting air to the laser head.
- The exhaust system is on and vented into a safe location.
- Connect to RetinaEngrave 2.0 software using your machine’s touch screen to copy the software IP address into your favorite browser. The Wired IP address is displayed at the bottom of your touch screen.
- Import your design and adjust power and speed settings. Double check settings including the number of passes and cut order.
- Insert material into the laser bed. Use the focus tool to adjust to the top of the material. Focusing should be done each time a new material is introduced.
- Use the “Perimeter” function to ensure that the file will fit within the cutting area. Adjust accordingly.
- Run the job file. Do not leave a job running unattended.
| Download Design Files Below | |
|
(Retina Engrave 1) |
|
Cut
Import the included files and cut all the pieces from their respective materials. This file contains vector cuts only.
Assemble
First, you will want to take your cut peices and assemble them in the following order. We suggest using either a glue-stick or Elmers Glue.
Place the two base peices together, aligning the cut-out box, and glue.
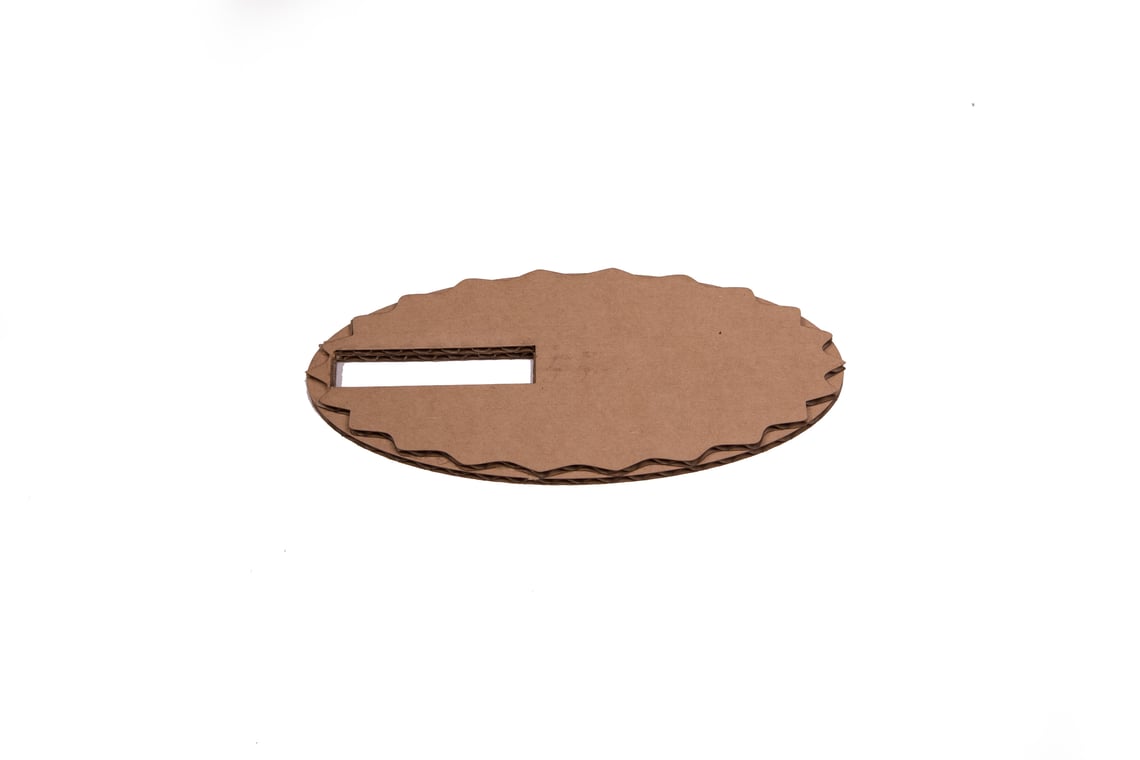
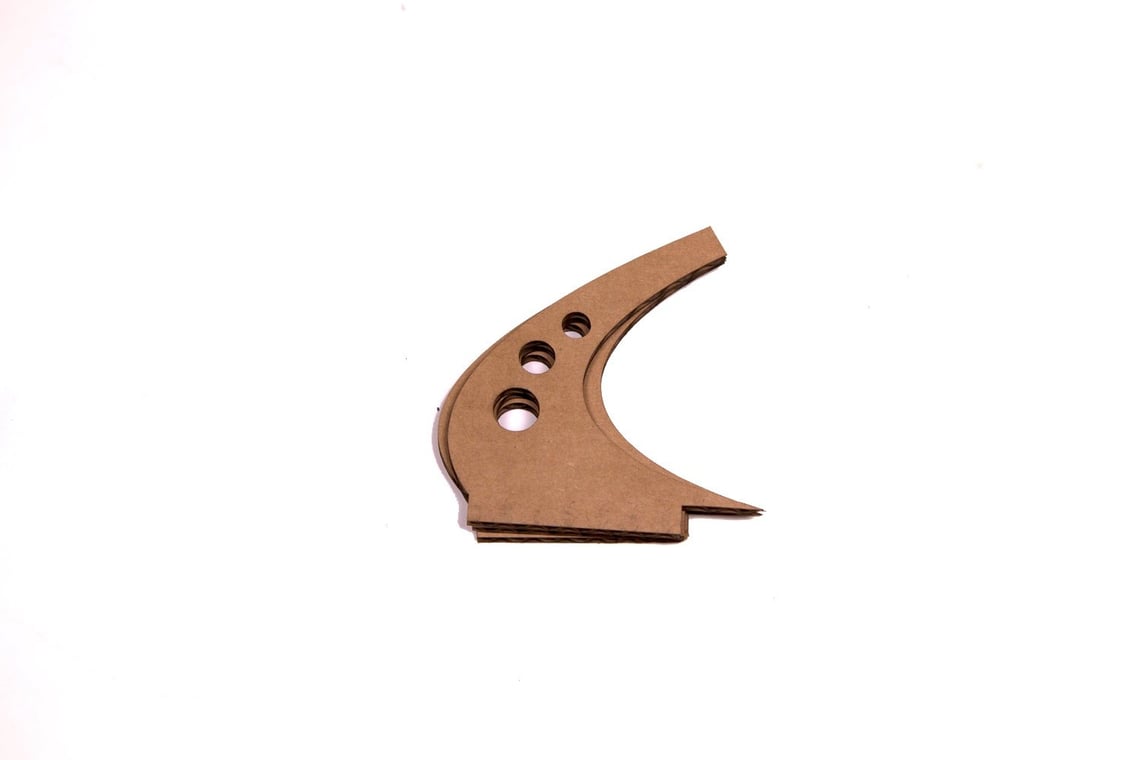
Next attach the stand to the base with glue.
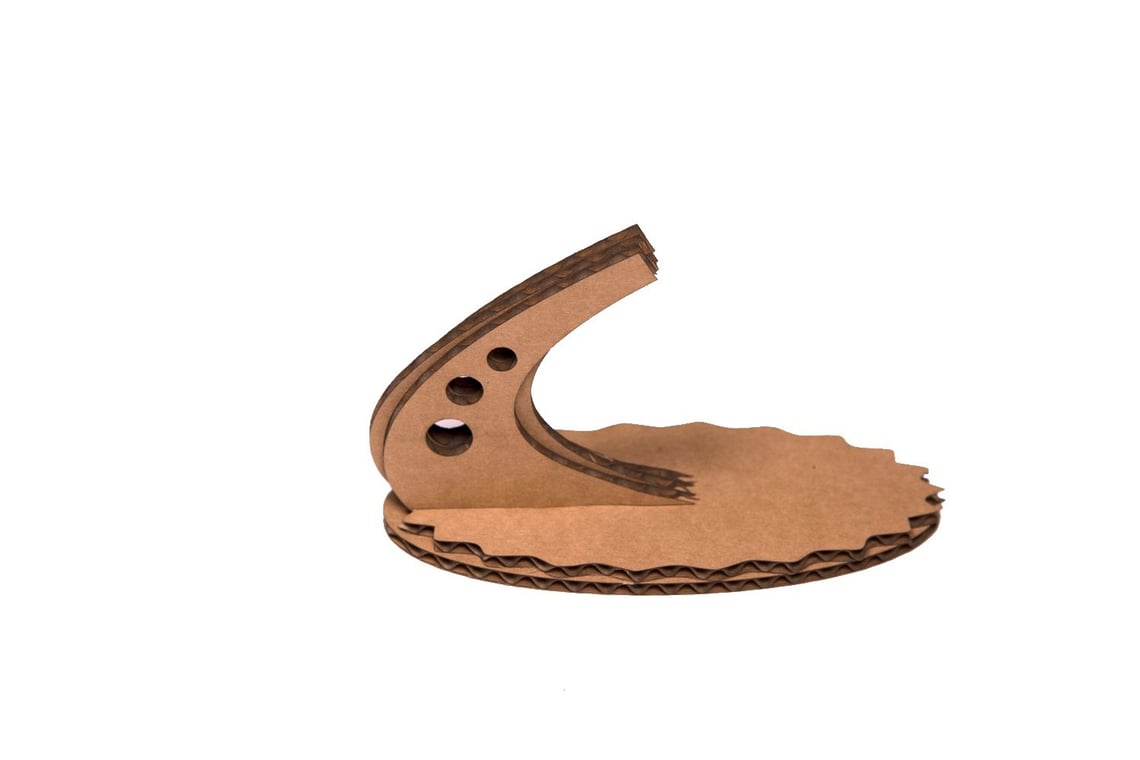
Now asseble the two main sections of the rocket, use glue to set.
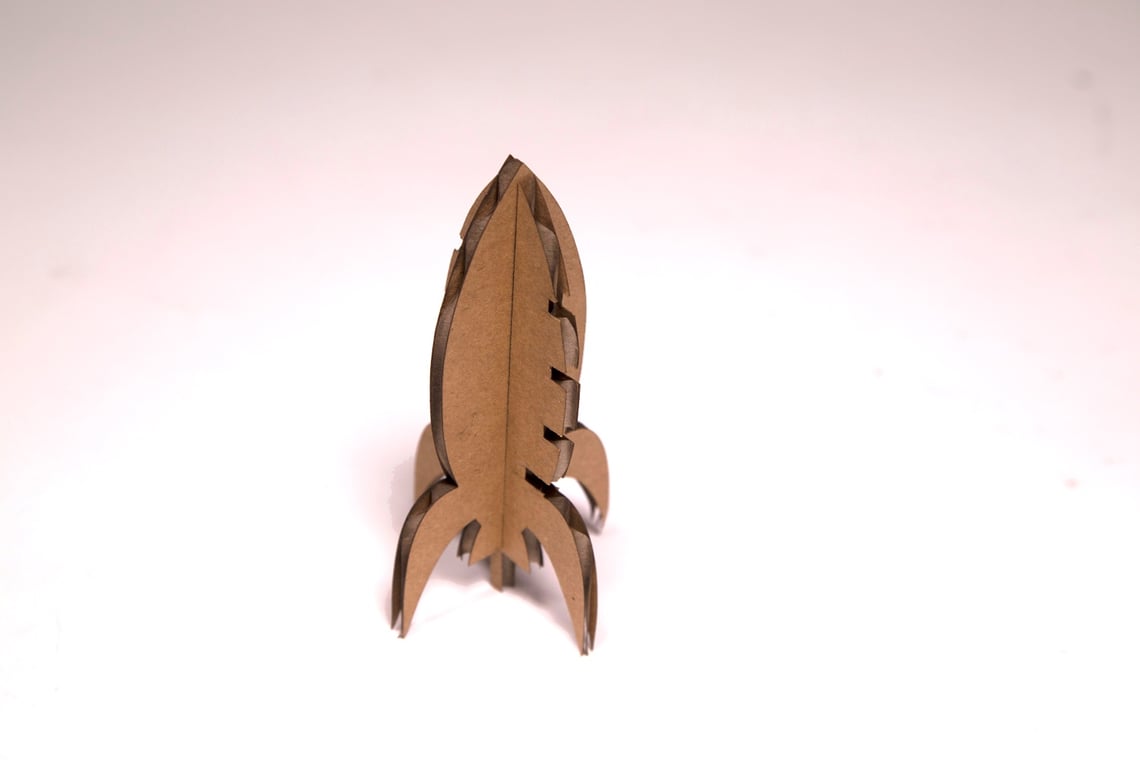
Now place the rocket ribbing in the notched locations, using glue to set.
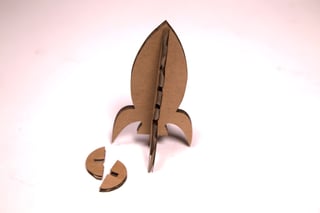
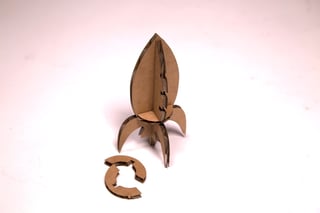
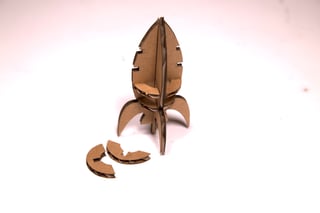
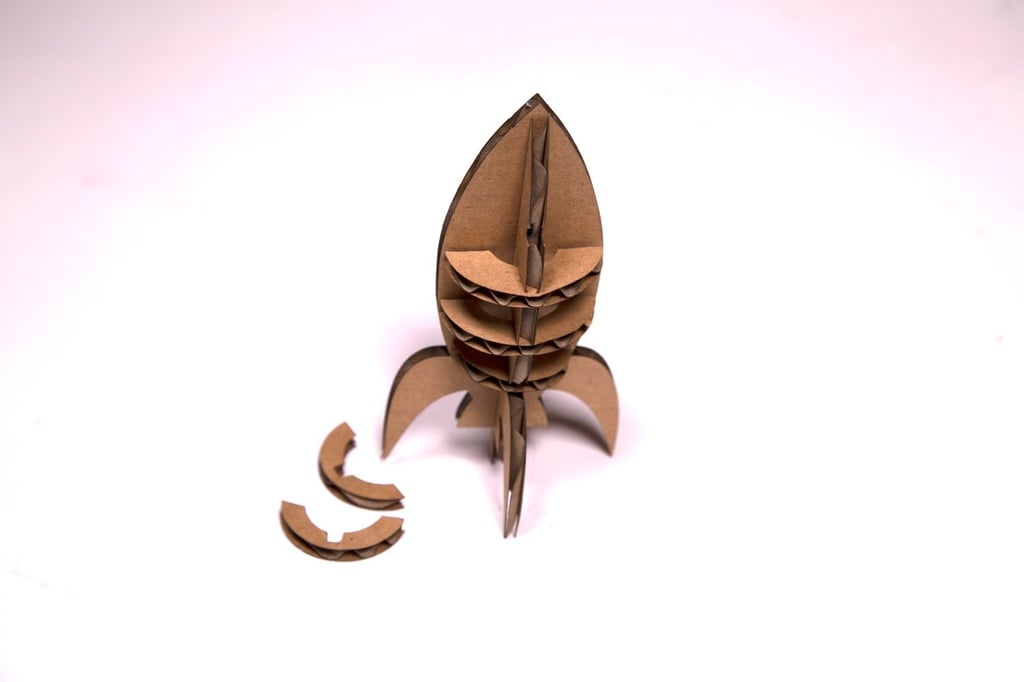
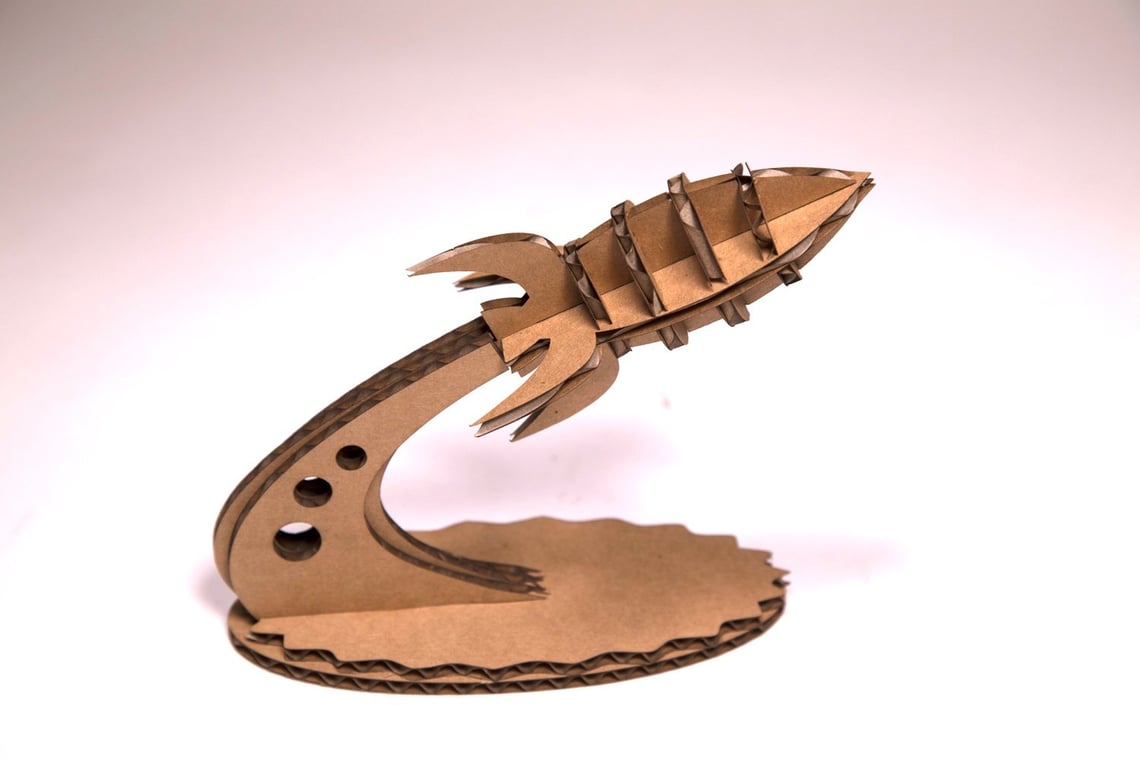
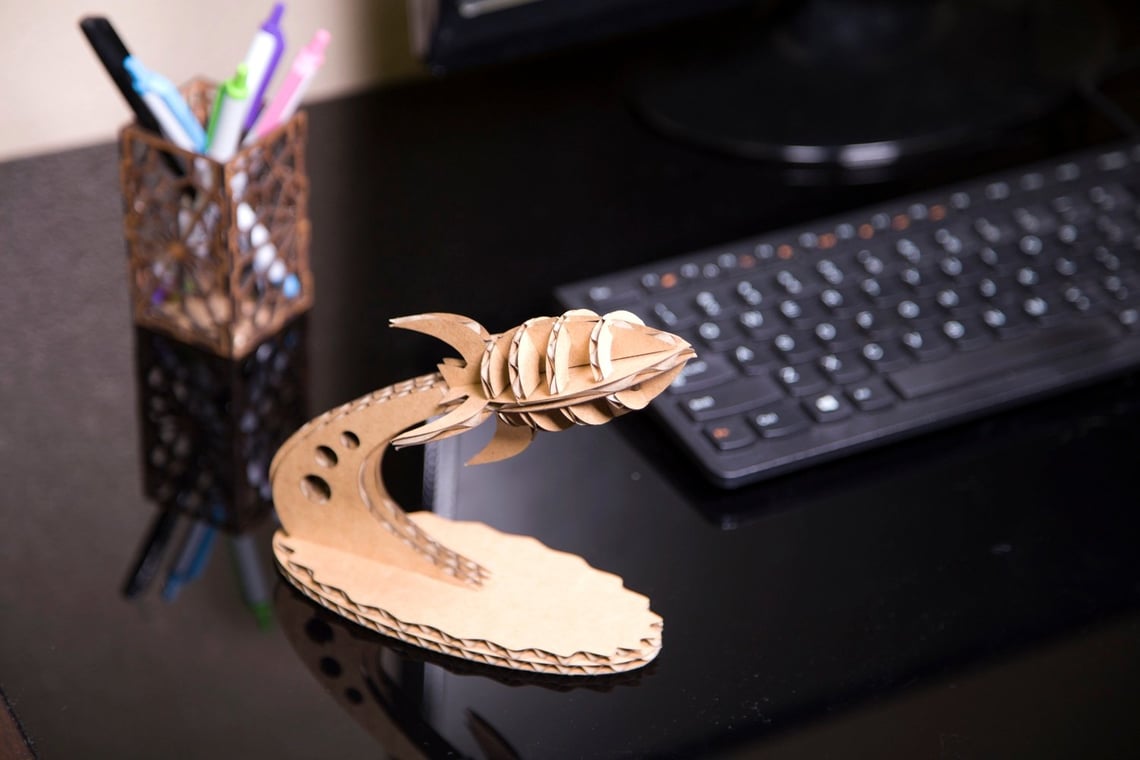
Now simply place your rocket on the stand. Use glue to set in place for your desk, or leave free so that you can play with it all day long!
Submit your own project!
We would love to see how it turned out.
Please submit the form on the right.
